Canvas
The Canvas is made up of objects called "nodes" and lines connecting the nodes called "edges."

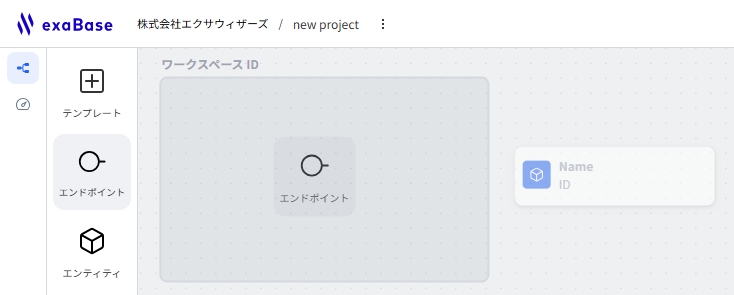
Adding Nodes to the Canvas
Drag and drop a node from the tool panel at the top of the sidebar. To reflect the node in the Blueprint, meaning to enable the node to operate in the deployed running program, you must place the node within the Workspace. If a node intended to be placed within the Workspace is placed outside, it will appear semi-transparent. For more details about the Workspace, please check here.
Connecting Nodes
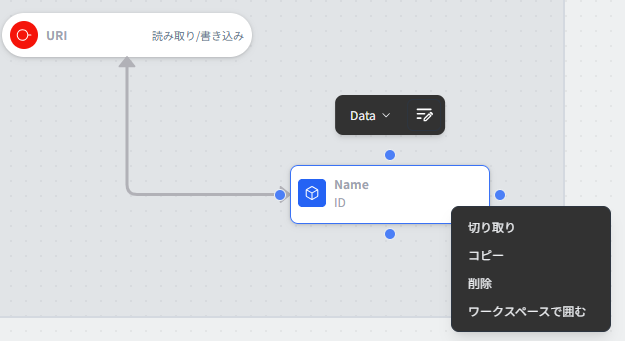
While a node is selected, drag the handles (four blue dots) that appear around it and drop them onto the handles of other nodes to connect them with edges. For more details about edges, please check here.

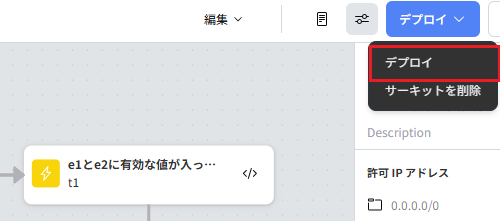
Deploying as a Circuit
Press the deploy button displayed in the upper right corner of the Canvas screen.
Version History of the Canvas
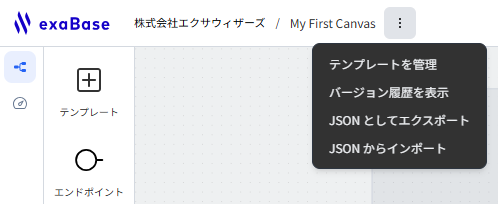
- You can view the version history of the Canvas by pressing the
︙mark displayed at the top left of the Canvas and selecting “Display Version History” from the opened menu. However, only users with editor or higher permissions for that project can perform operations related to version history.

- The state of the Canvas is saved as version history at the following times:
- Deployment
- Template publishing
- Template updating
- Manual saving
- To save manually, press the
+mark in panel ① of the version history image above and enter the version name in the displayed modal. - By hovering over each version in the version history panel within panel ② of the version history image above, you can access a menu by pressing the
︙mark that appears, from which you can perform the following operations on that version:- Rename: Change the display name of the version.
- Restore: Restore the Canvas to the state of that version.
- Delete: Delete the version.
Keyboard Shortcuts
Actions for the Canvas
| Action | Command (Windows) | Command (Mac) |
|---|---|---|
| Pan | Space + Drag | Space + Drag |
| Zoom In/Out | Ctrl + Mouse Wheel | ⌘ + Mouse Wheel |
| Select Area | Drag | Drag |
Actions for Nodes and Edges
| Action | Command (Windows) | Command (Mac) |
|---|---|---|
| Delete | Backspace | Delete |
| Copy | Ctrl + C | ⌘ + C |
| Cut | Ctrl + X | ⌘ + X |
| Paste | Ctrl + V | ⌘ + V |
| Group in Workspace | Ctrl + G | ⌘ + G |
Other than the "Paste" operation above, operations can also be performed by right-clicking a node or selecting multiple nodes and right-clicking to access the menu.
Operation Mode and Display Mode
Operation Mode
- You can change the behavior of the mouse cursor displayed on the Canvas:
- Move mode: You can select multiple elements using a bounding box by holding down the left mouse button and dragging.

- Hand mode: You can move around the Canvas by holding down the left mouse button.

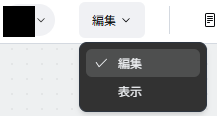
Edit and Display Mode
- You can switch the usage mode of the Canvas from the menu at the top of the screen.
- Edit mode: You can make changes to the Canvas.
- Display mode: You can only view the Canvas, preventing accidental modifications.
Panels
Bottom Panel
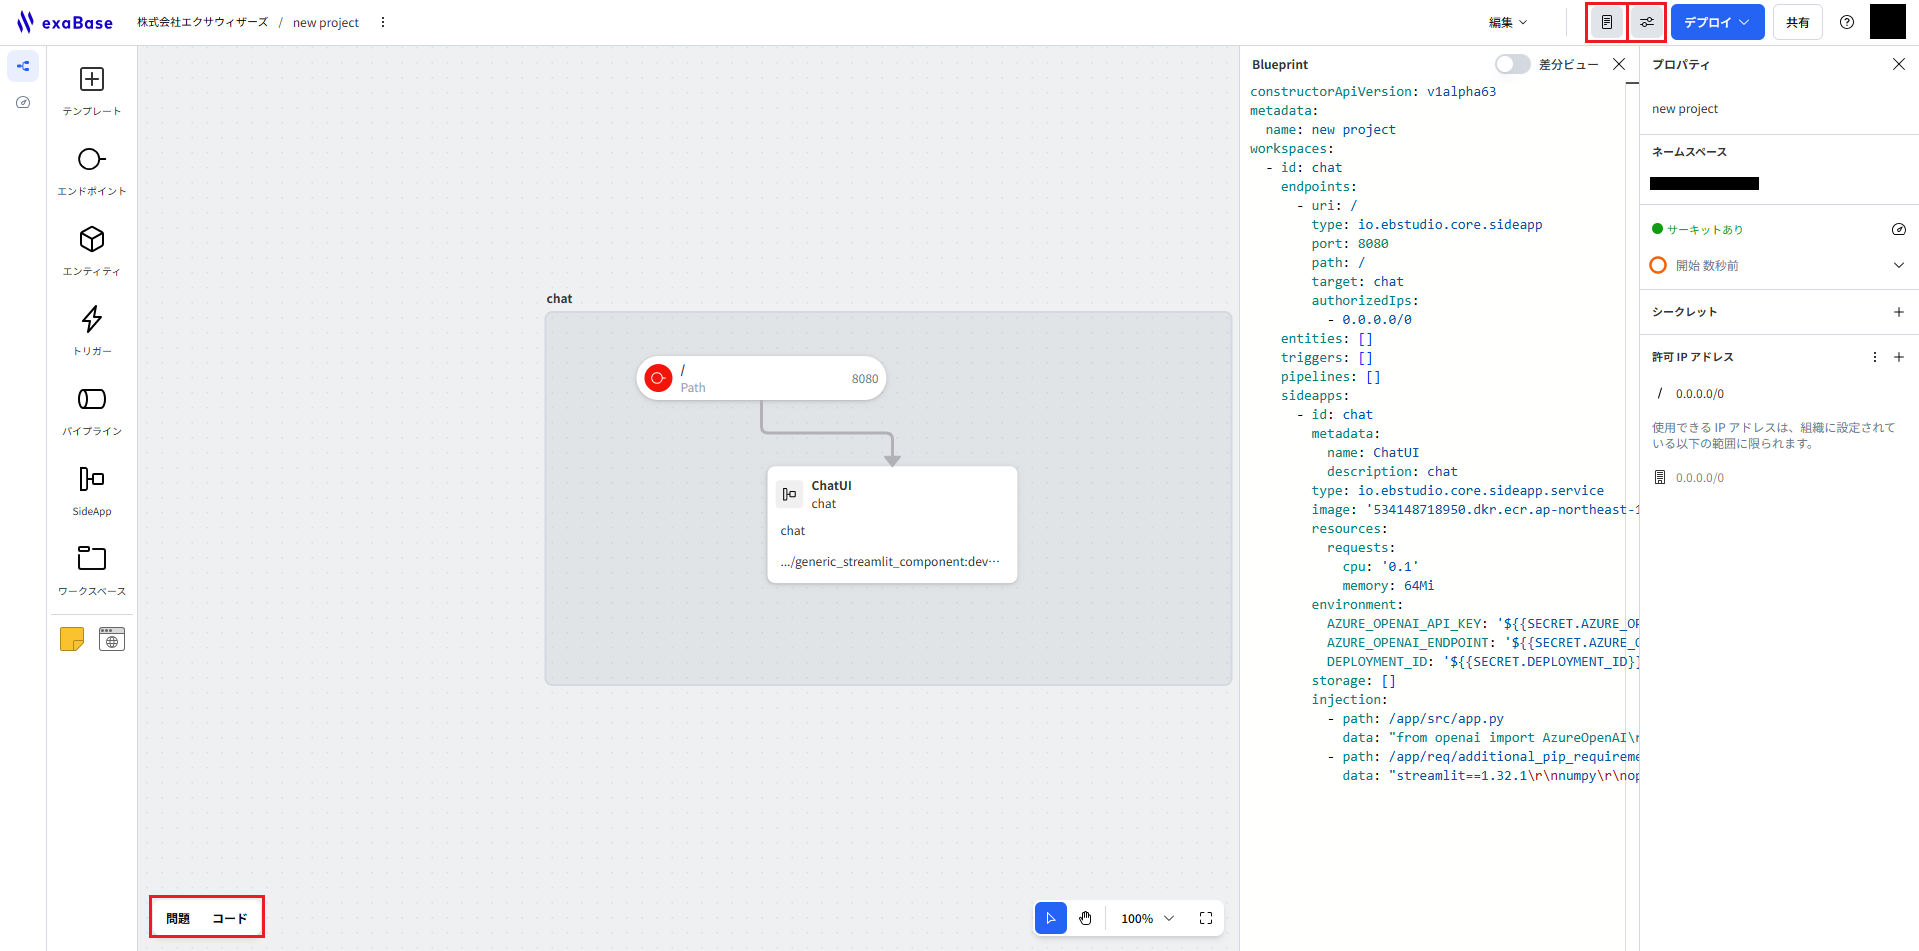
- By pressing the button in panel ① of the image above, you can display the bottom panel at the bottom of the Canvas. After displaying it, you can hide it from the close button at the upper right.
- In the "Issues" tab, you can check for problems within the Canvas.
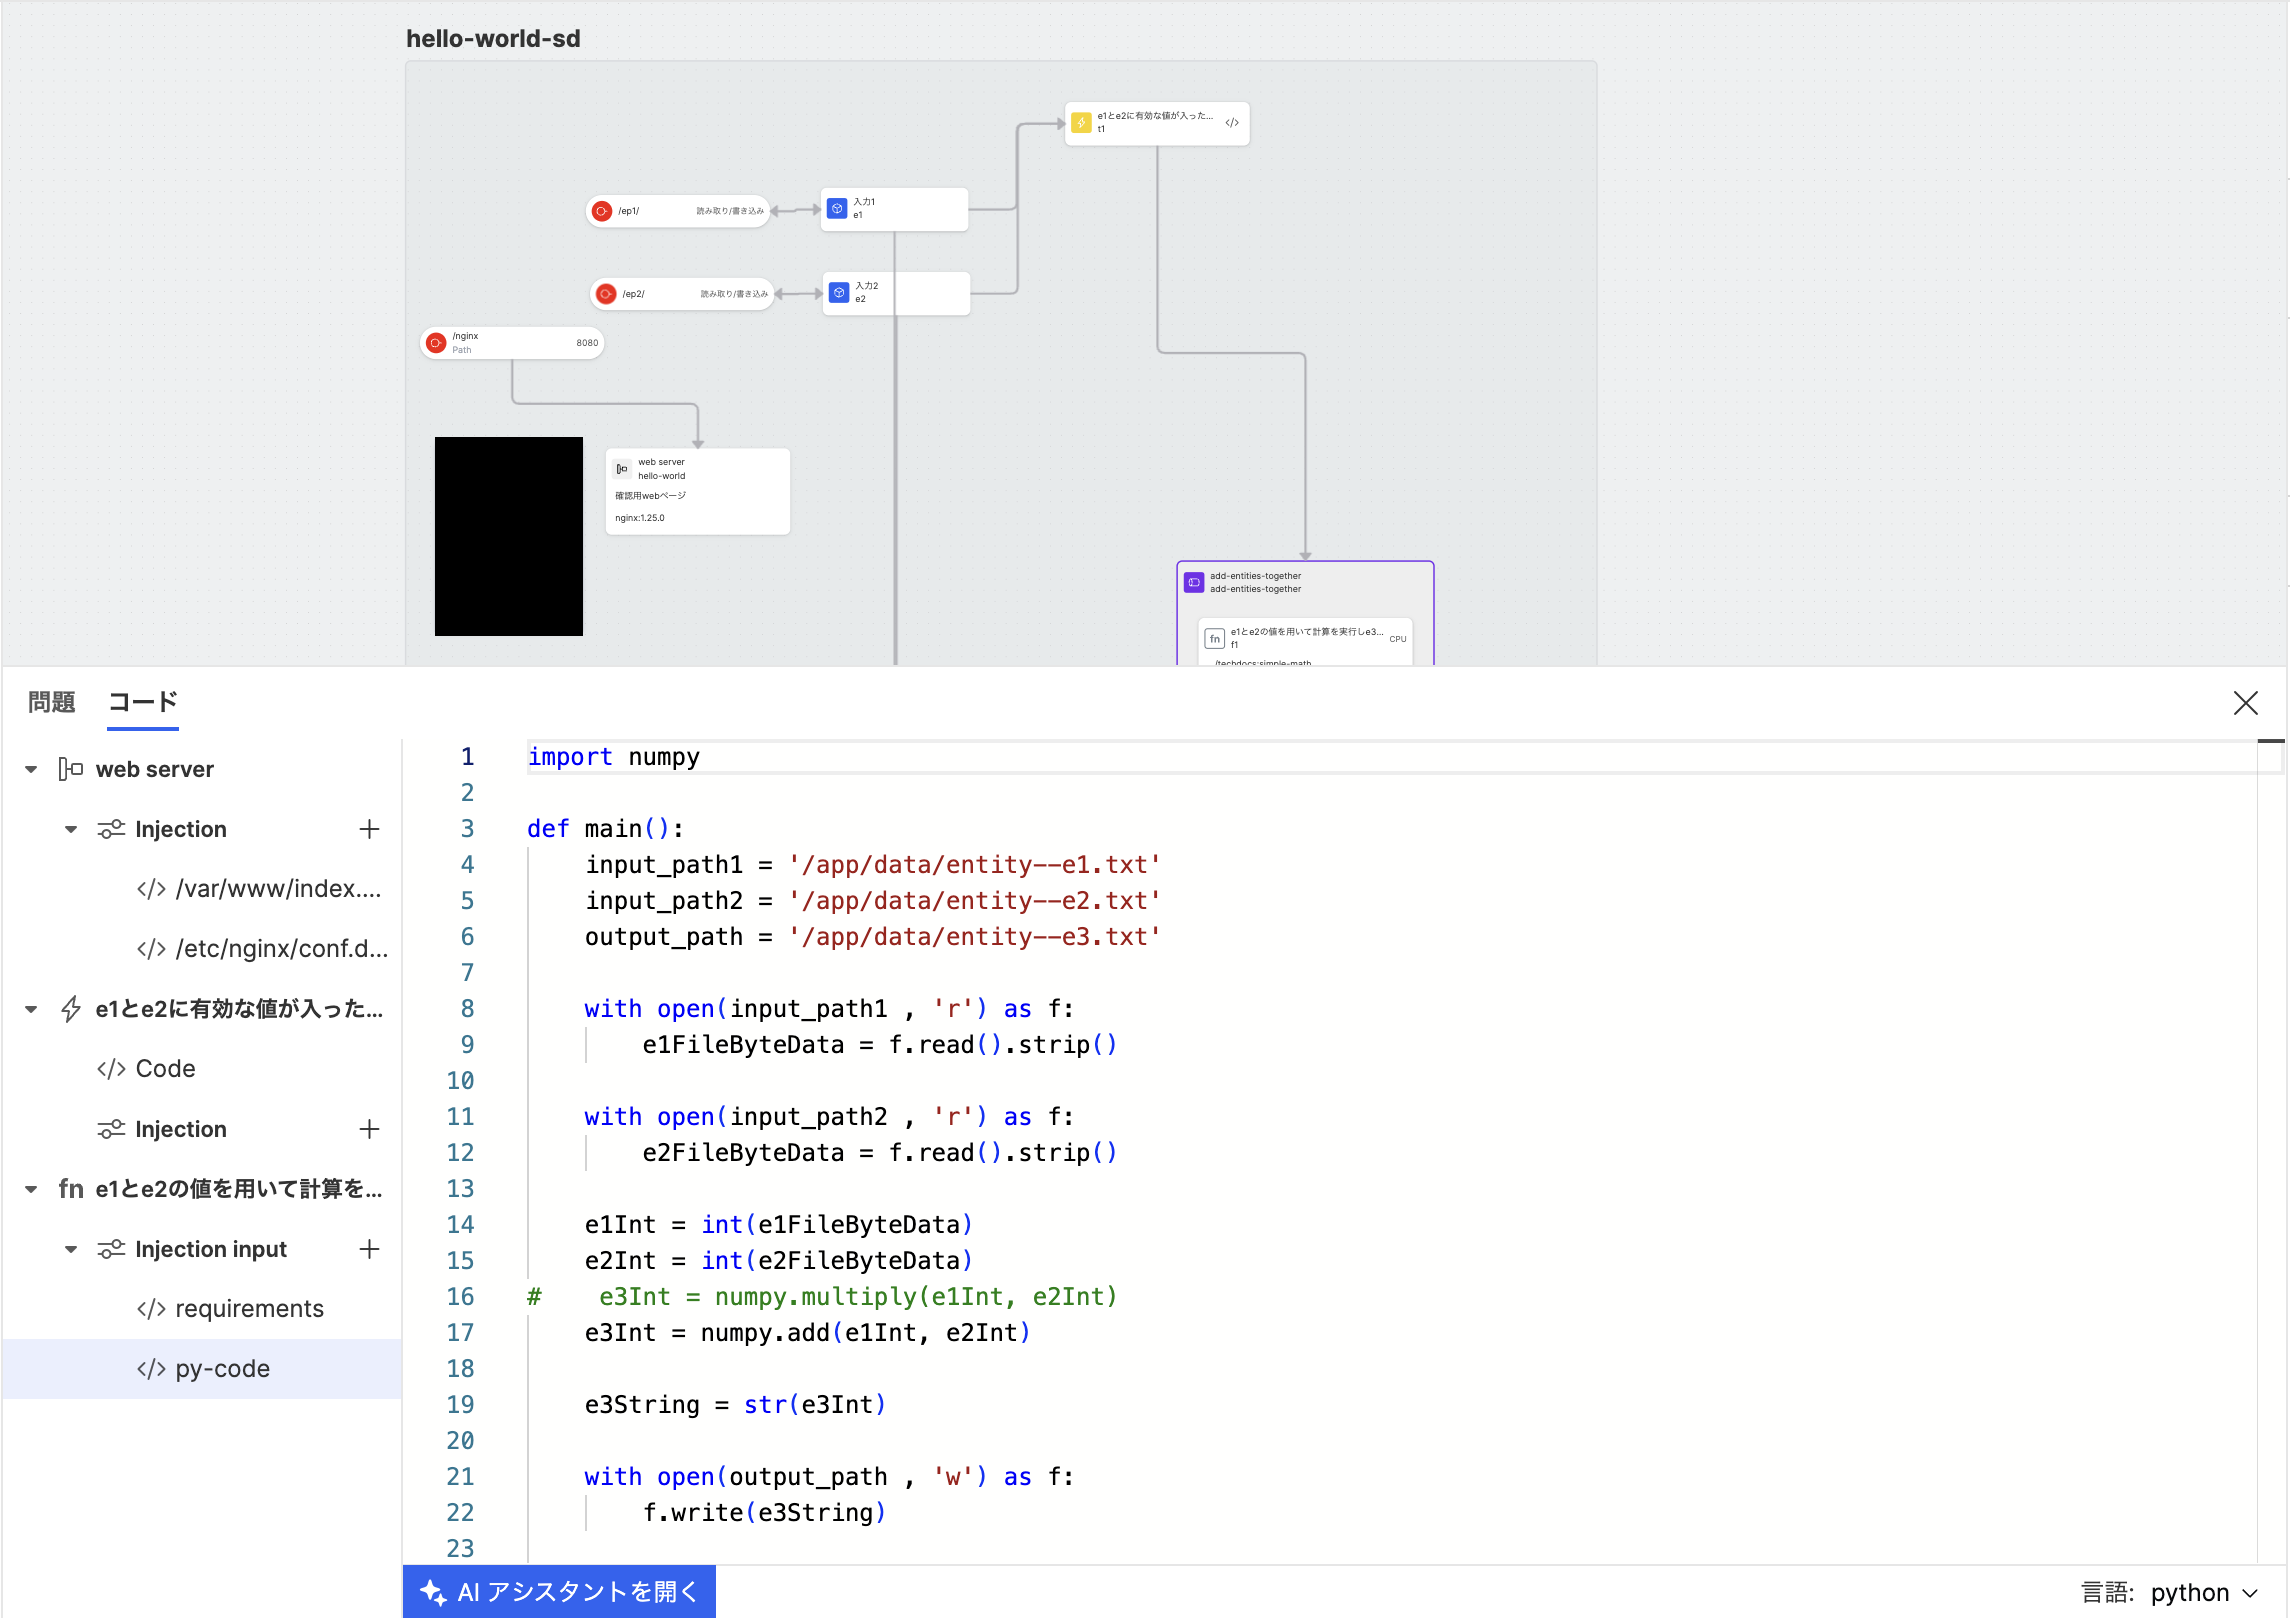
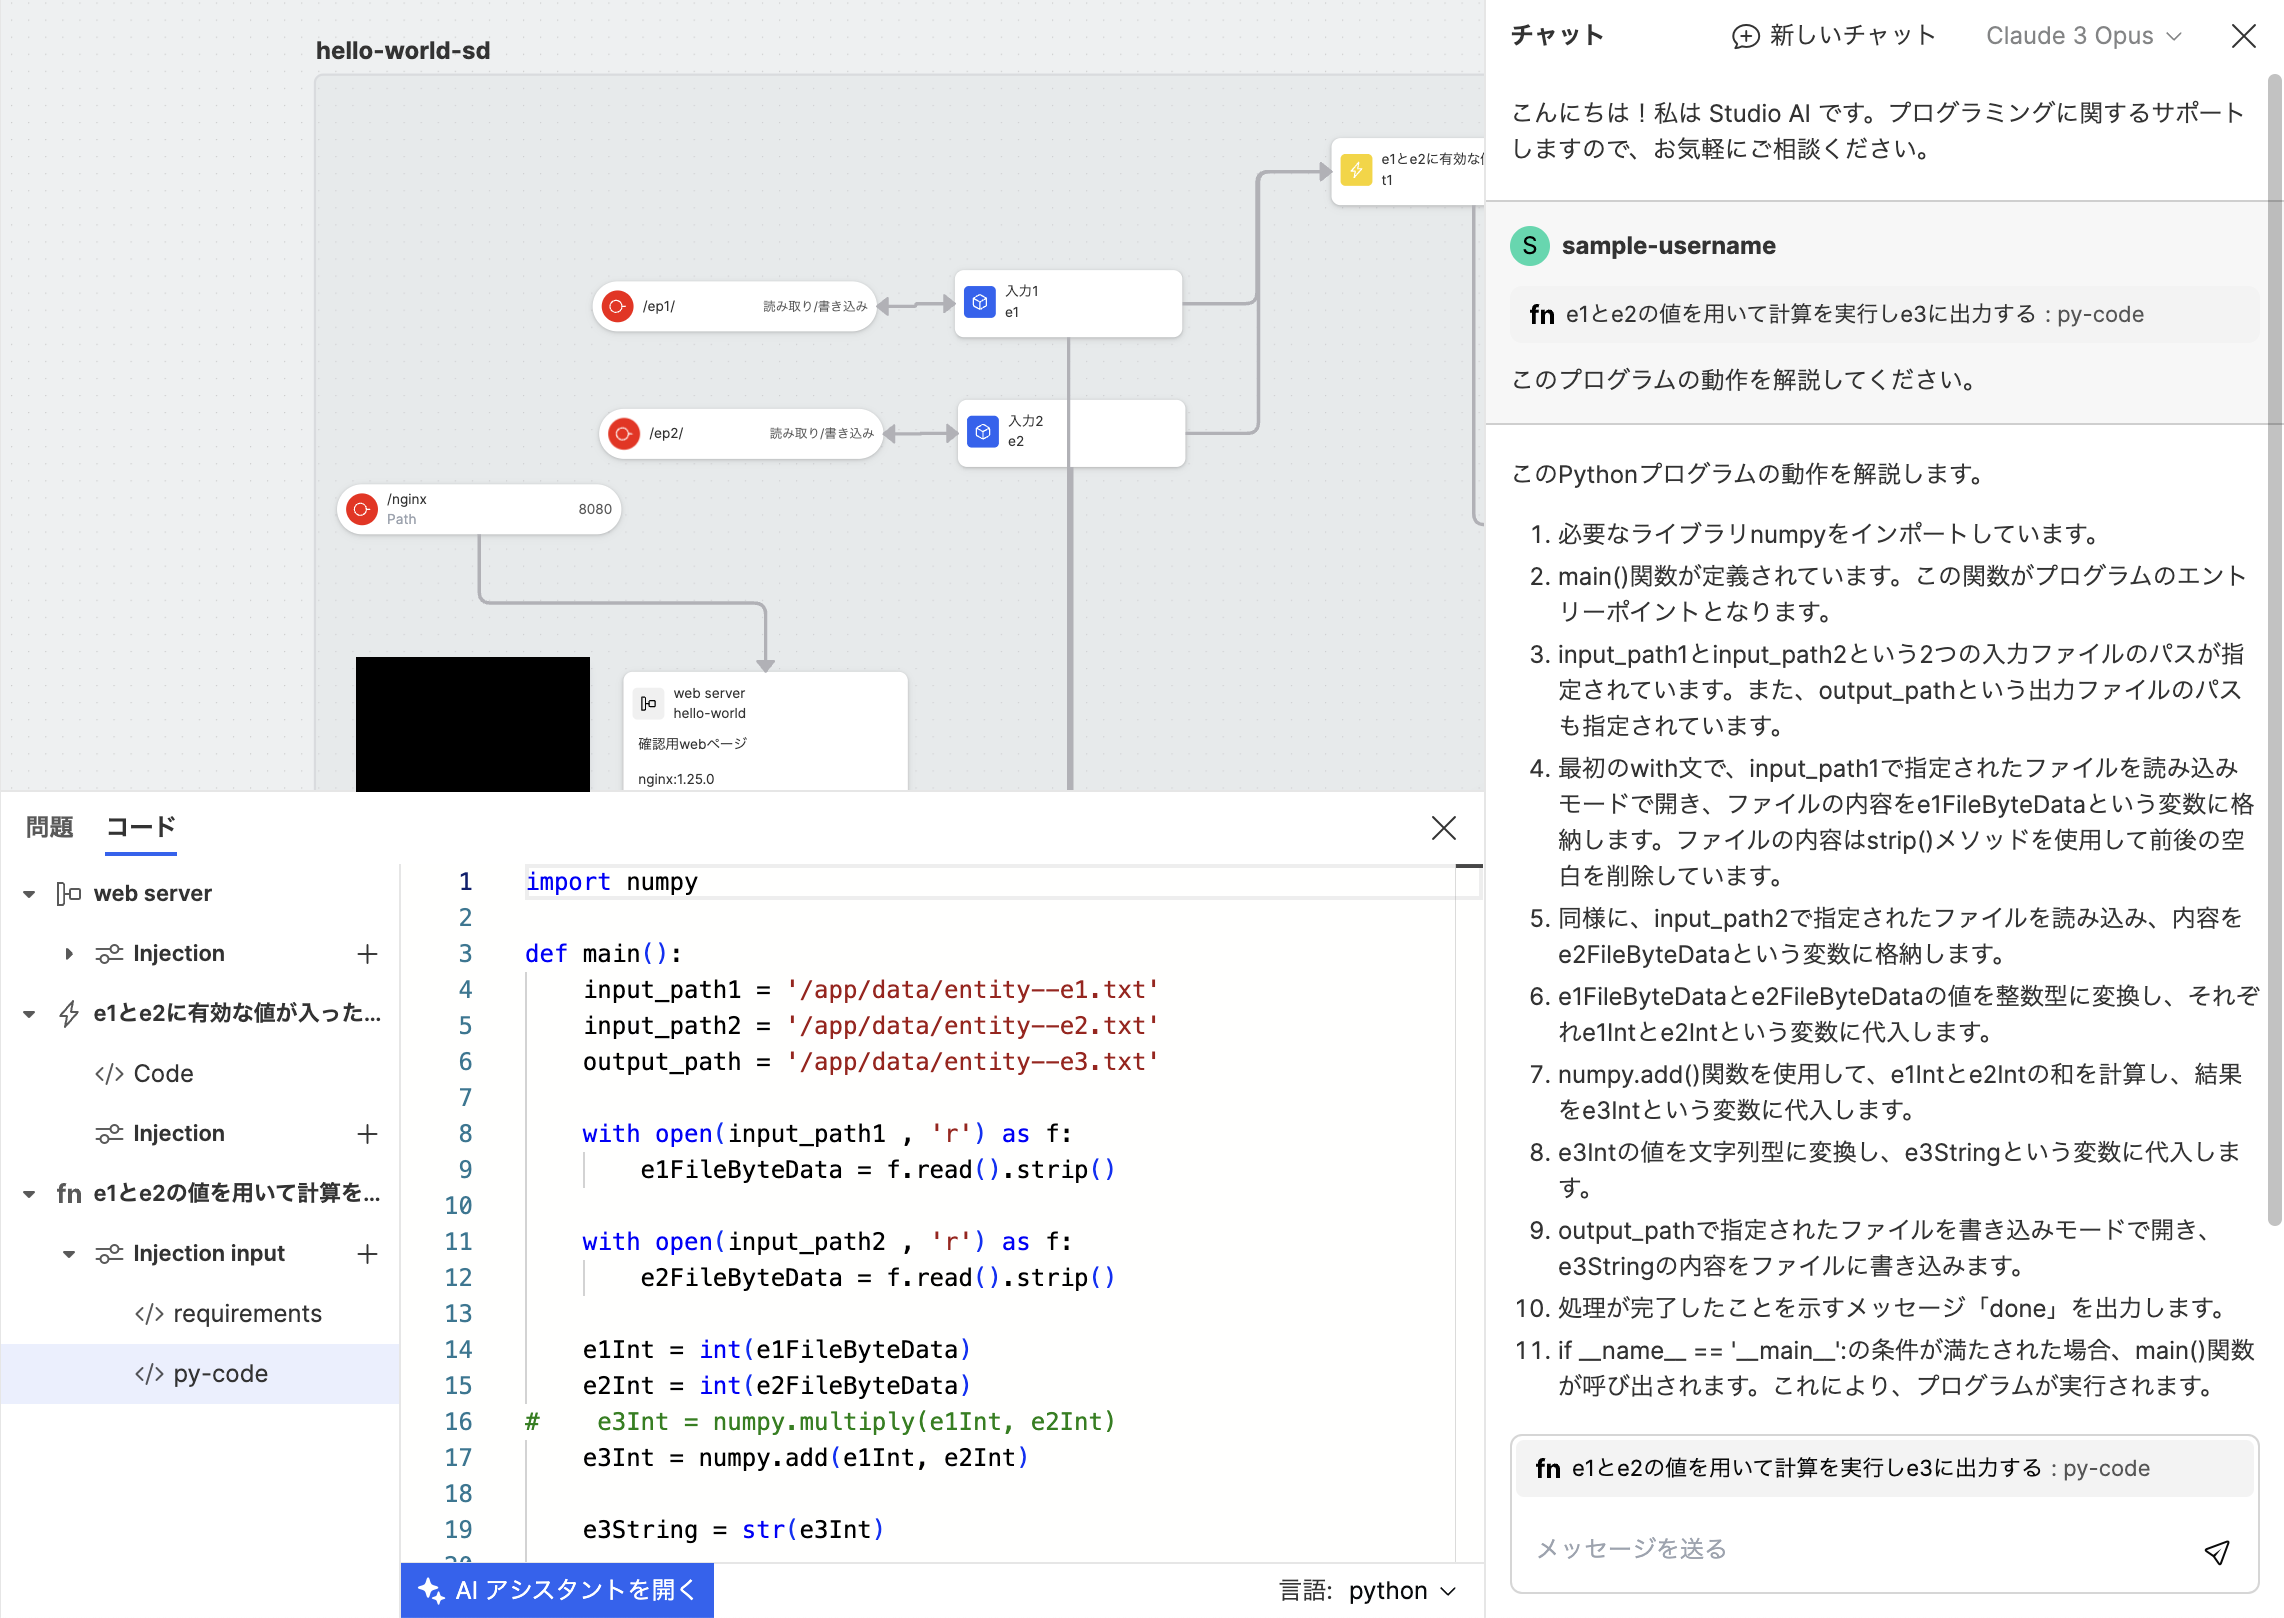
- In the "Code" tab, you can view and edit the code for Trigger nodes and Injection properties. A list of those codes is displayed on the left. By selecting each element, its code will be shown on the right.
- By pressing "Open AI Assistant" at the bottom of the "Code" tab, you can open the chat panel with the AI assistant for support related to that code. Please note that this feature is managed by the administrator, enabling/disabling it for each cluster. The default is disabled.
Blueprint
- By pressing the button in panel ② of the image above, you can toggle the display of the Blueprint panel on the right side of the Canvas.
- By pressing the switch for "Diff View" in the Blueprint panel, you can toggle the display of a "Diff View" that shows the differences between a version in version history and the current state of the Canvas.
- Only users who can perform operations related to version history (those with editor or higher permissions for that project) can view the diff view.
- Selecting past versions will always show the results of the latest Blueprint transformation, so it may differ from the Blueprint actually deployed. In cases where there are breaking changes due to version upgrades in Blueprint specifications, the Circuit deployed may behave differently from the past, even if no differences are displayed.

- For more details about Blueprints, please check here.
Property Panel
By pressing the button in panel ③ of the image above, you can toggle the display of the property panel on the right side of the Canvas. The contents of this panel will change based on the selected nodes and so on.
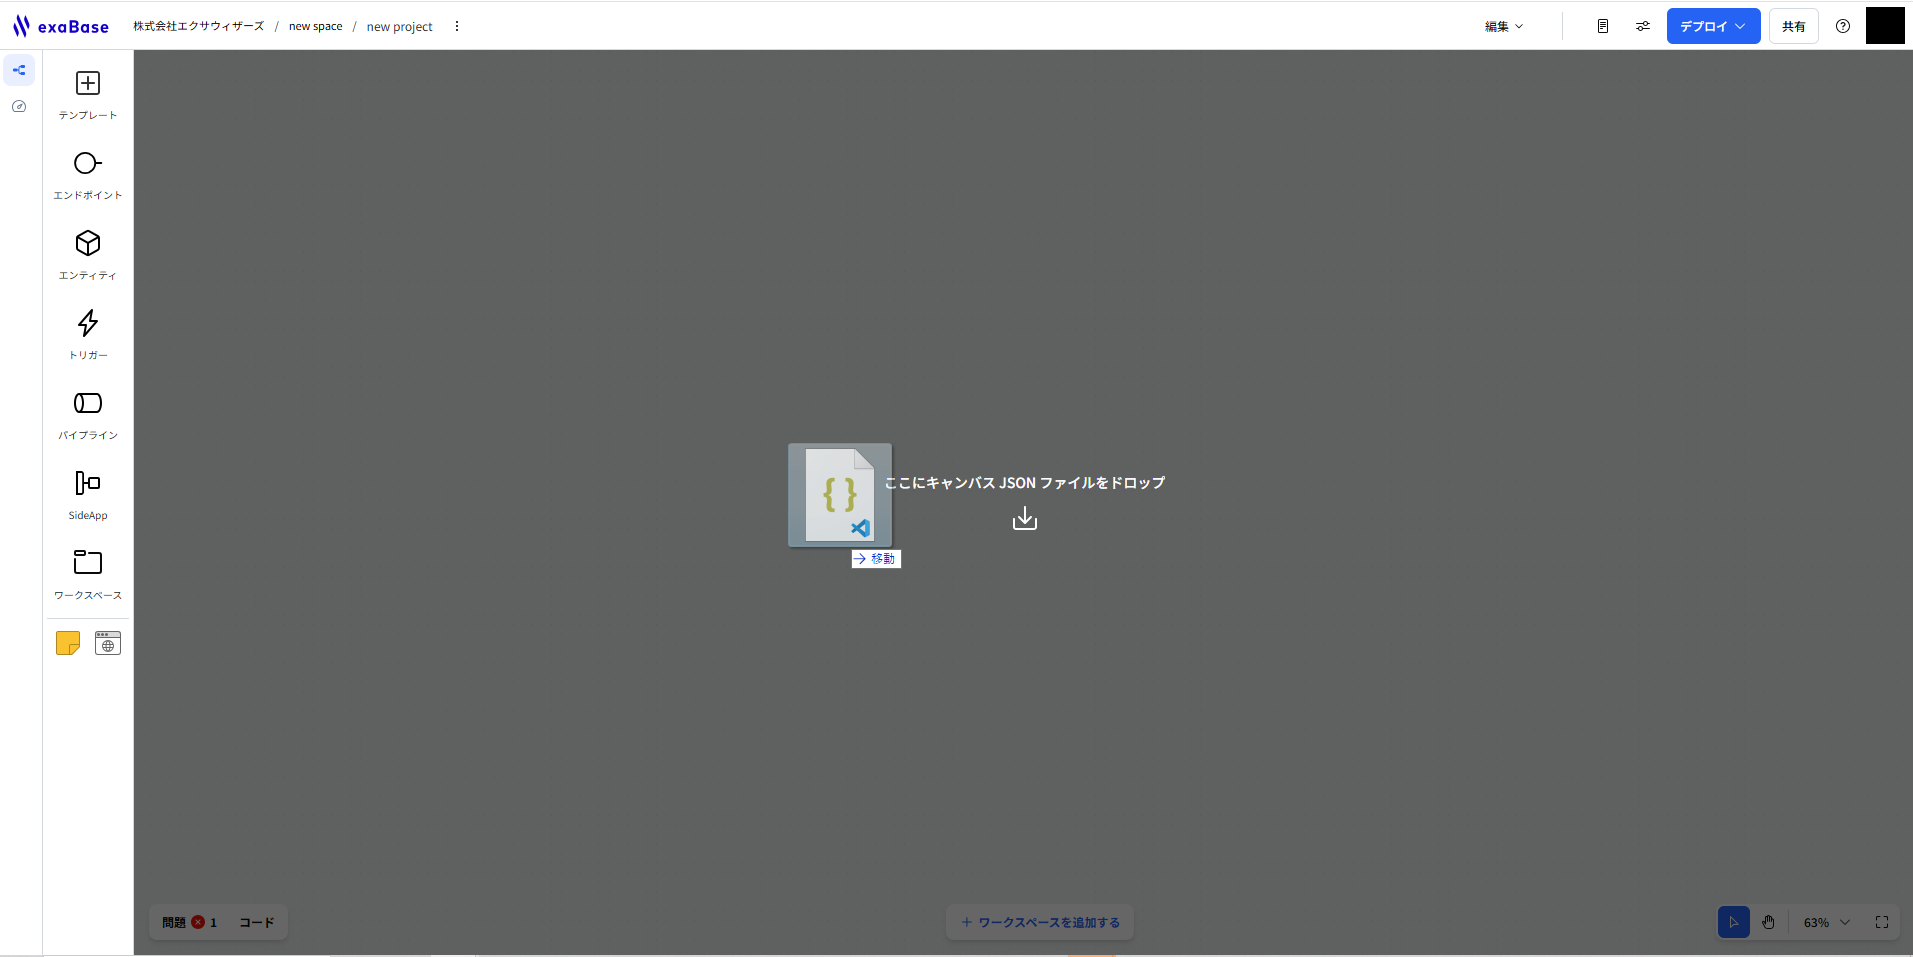
Exporting/Importing the Canvas as JSON
-
You can export/import the Canvas as JSON from the menu at the top of the Canvas screen.
-
You can also import by dragging and dropping the JSON file of the exported Canvas into the Canvas.