Hello World: Deploying Addition
This is a tutorial for deploying a simple addition app to the cloud using exaBase Studio. This guide will walk you through the basic steps of building and deploying a simple application utilizing AI.
Preparation
(1) Download Sample File
Please download the sample JSON file for Canvas from the link below.
exaBase-Studio_Simple_Math.json
*Right-click and select "Save link as" to save the file.
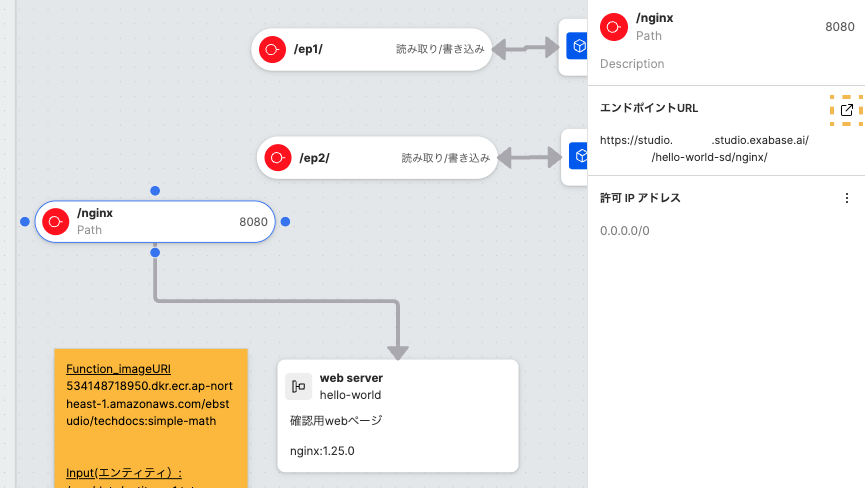
Note on Public IP Address Settings
- This sample file does not restrict access to the endpoint located in the Workspace hello-world-sd.
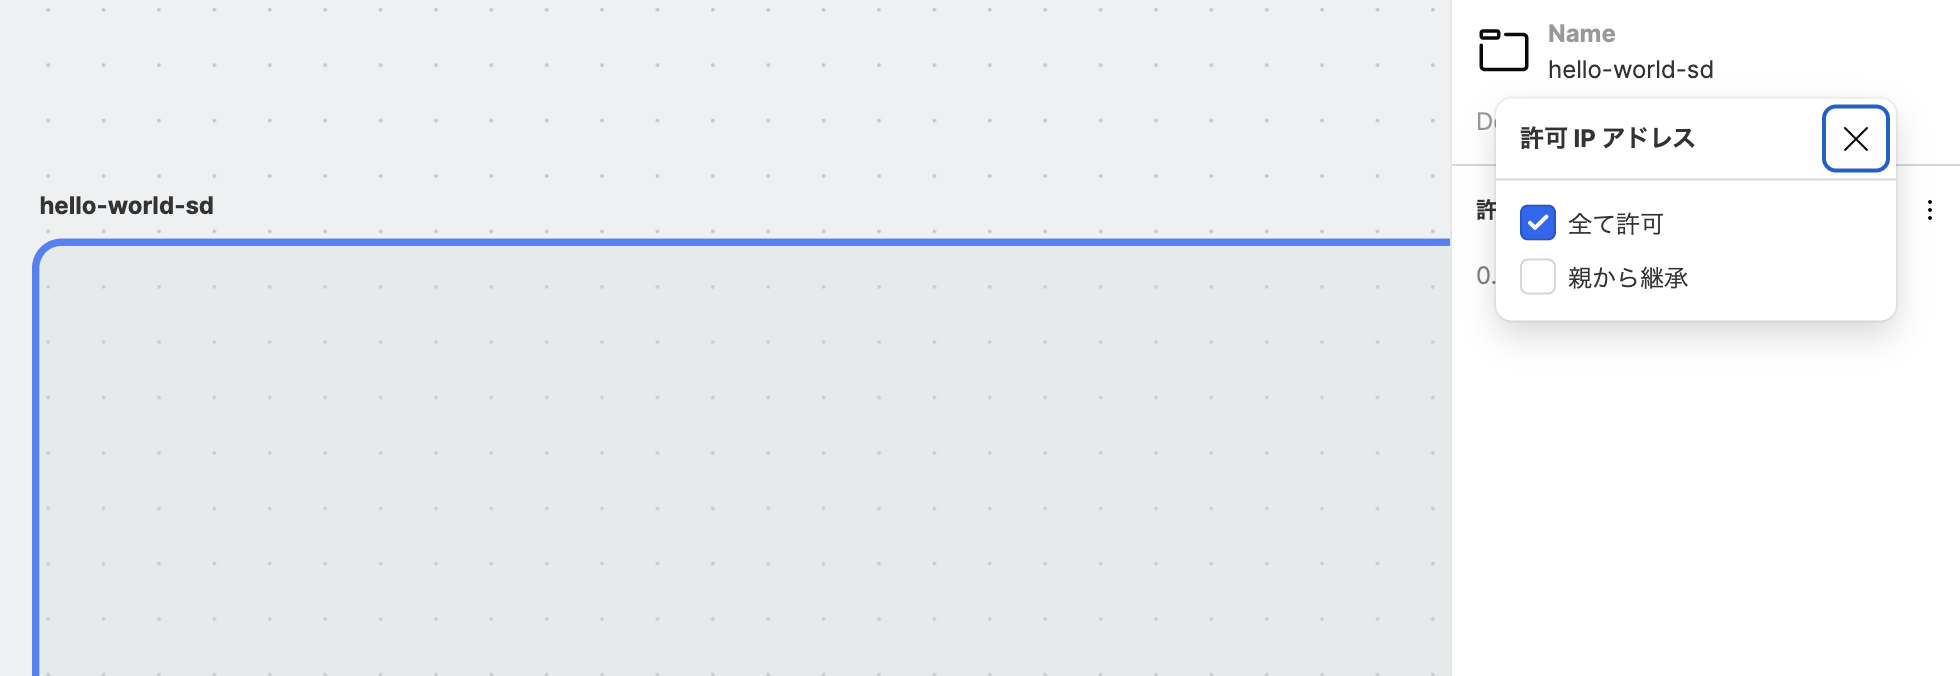
- When customizing for your use, please refer to the IP Address Restriction Settings to configure the scope of exposure.
(2) Accessing StudioApp
Please visit the URL below. Replace <env-name> with your environment name.
https://app.<env-name>.studio.exabase.ai/
 # If you are unsure of the <env-name>, please contact your internal representative.
*If you are unsure of the environment name, please consult your internal representative.
Tutorial
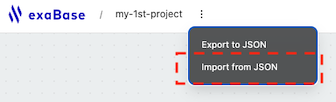
1. Create a New Project and Import JSON File
-
Click the
+ New Projectbutton in StudioApp to create a new project. You can set the project name as you like.
-
Import the downloaded JSON file into the Canvas.
-
After importing, it will be displayed as follows.

2. Deployment
- Click the
Deploybutton in the upper right corner to deploy.
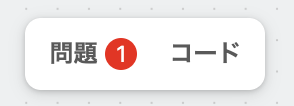
If an error message appears: The node configuration of the Canvas may not meet the specifications of the Blueprint. Check the details of the error in the issue tab on the bottom panel.
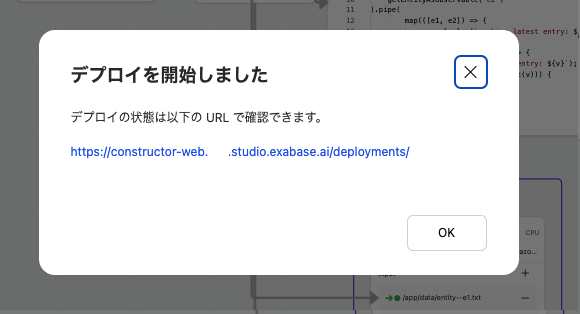
3. Confirming Deployment Completion
-
After deployment, you can check the status from the URL displayed in the dialog.
-
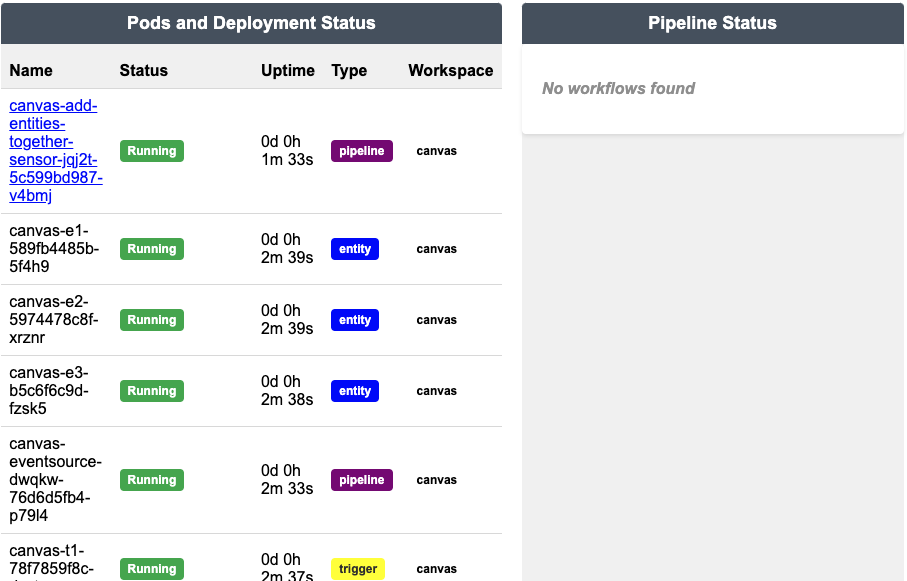
Ensure that the Pod has started up and is in a Running state. For detailed logs, refer to the Logs in References.
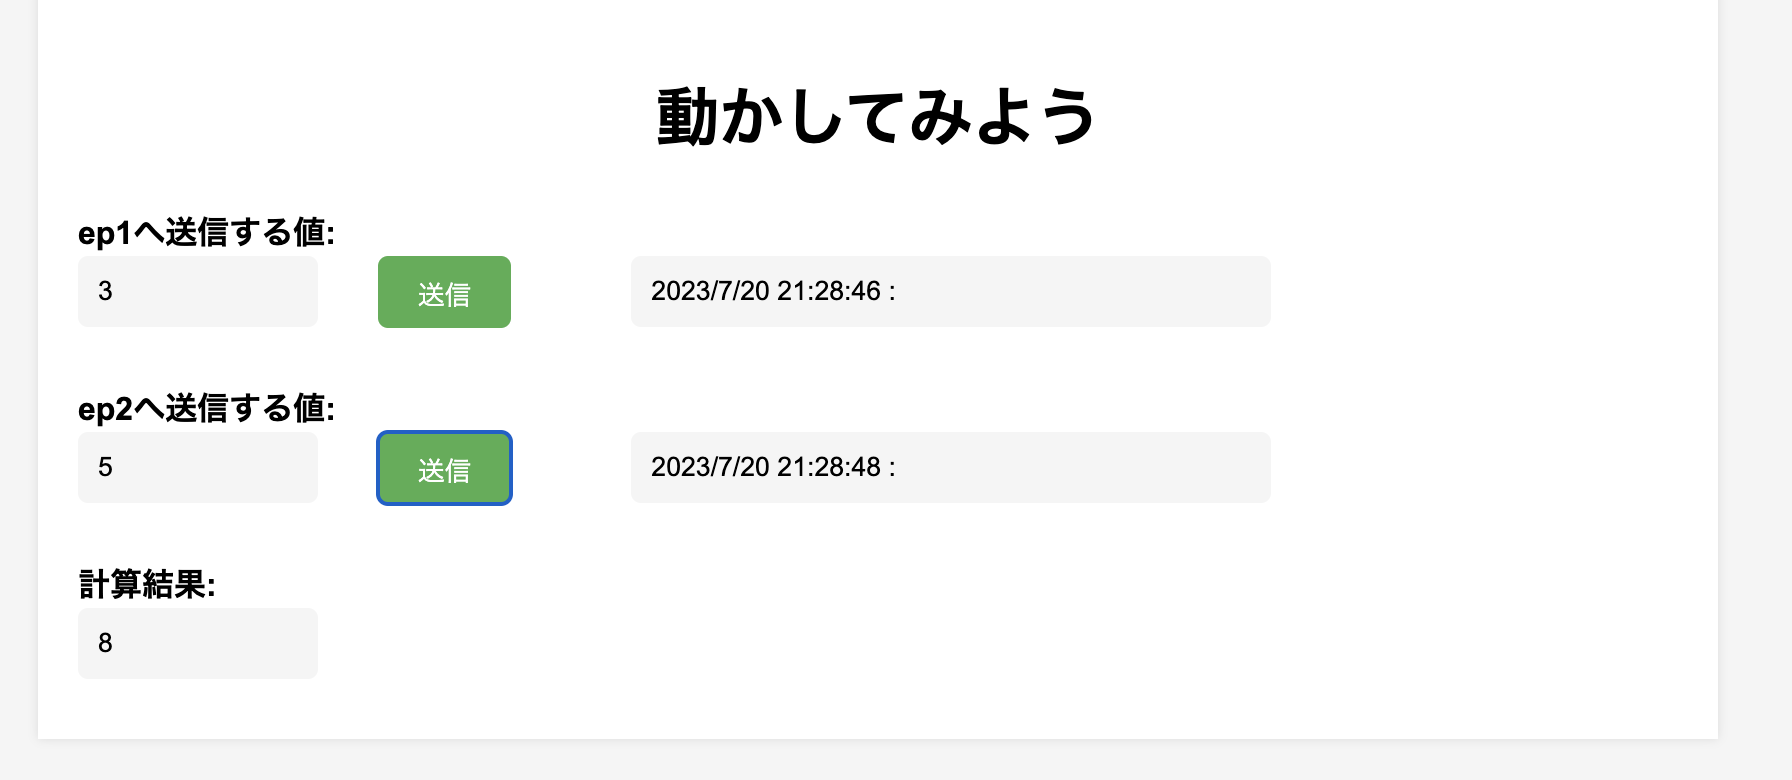
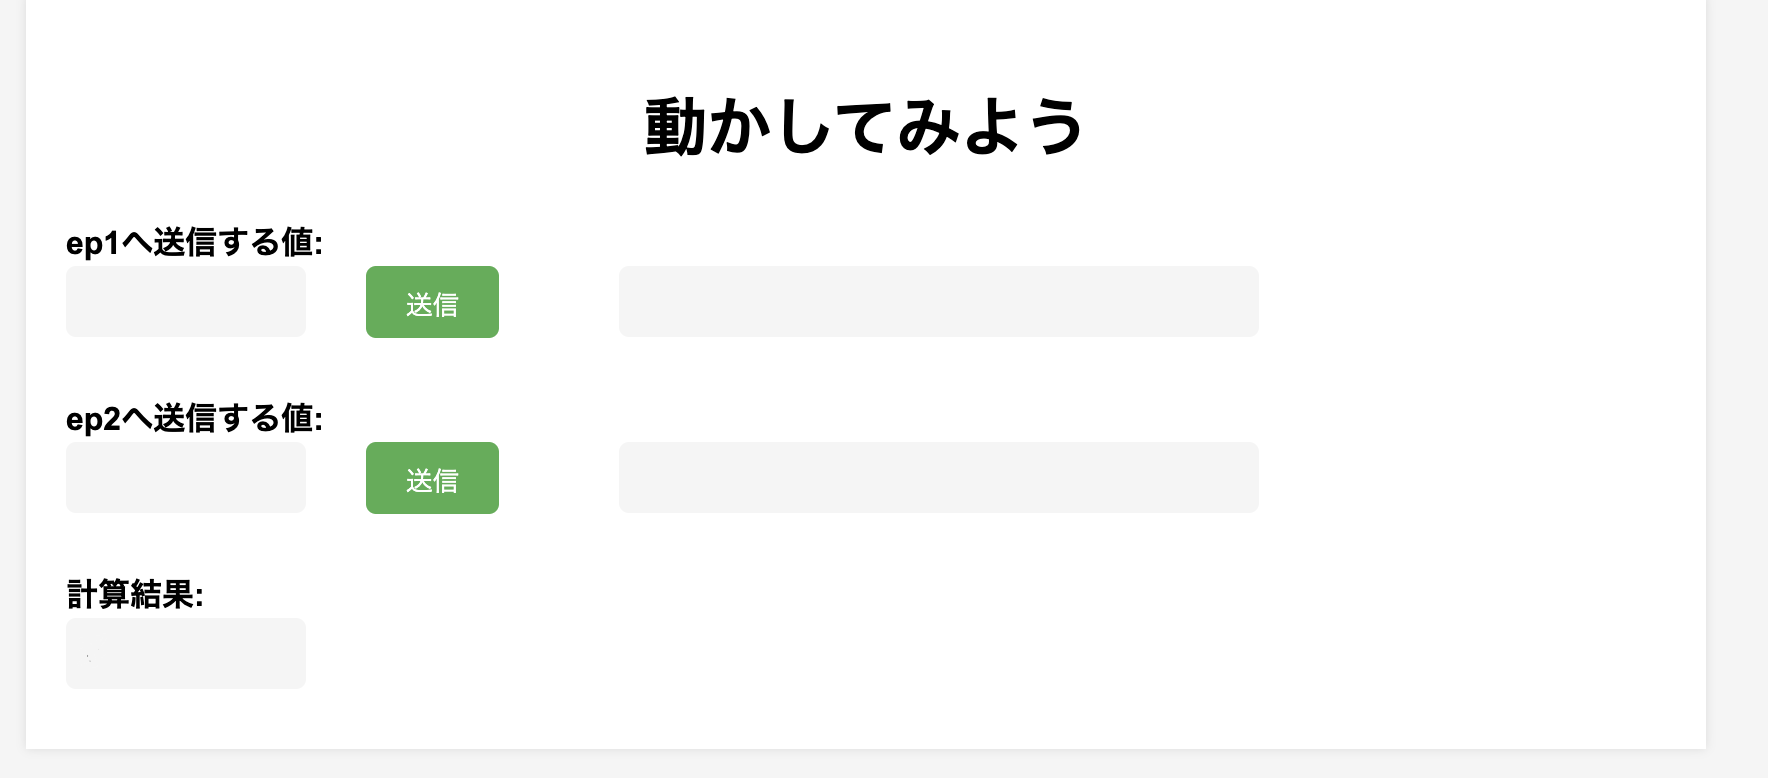
4. Performing Addition via Web UI
-
Select the Endpoint node connected to the SideApp, then access the Web UI using the displayed URL.
-
Enter integers for the Value to send to ep1 and Value to send to ep2, and click Send. The result of the addition processed by the Pipeline triggered will be displayed in the Calculation Result.