Utilizing Layered Entities
Overview
- This extends the content of the Tutorial: Deploying ML Models for Video Processing to create a canvas that accepts data inputs from multiple users and processes them individually.
Layering Entities
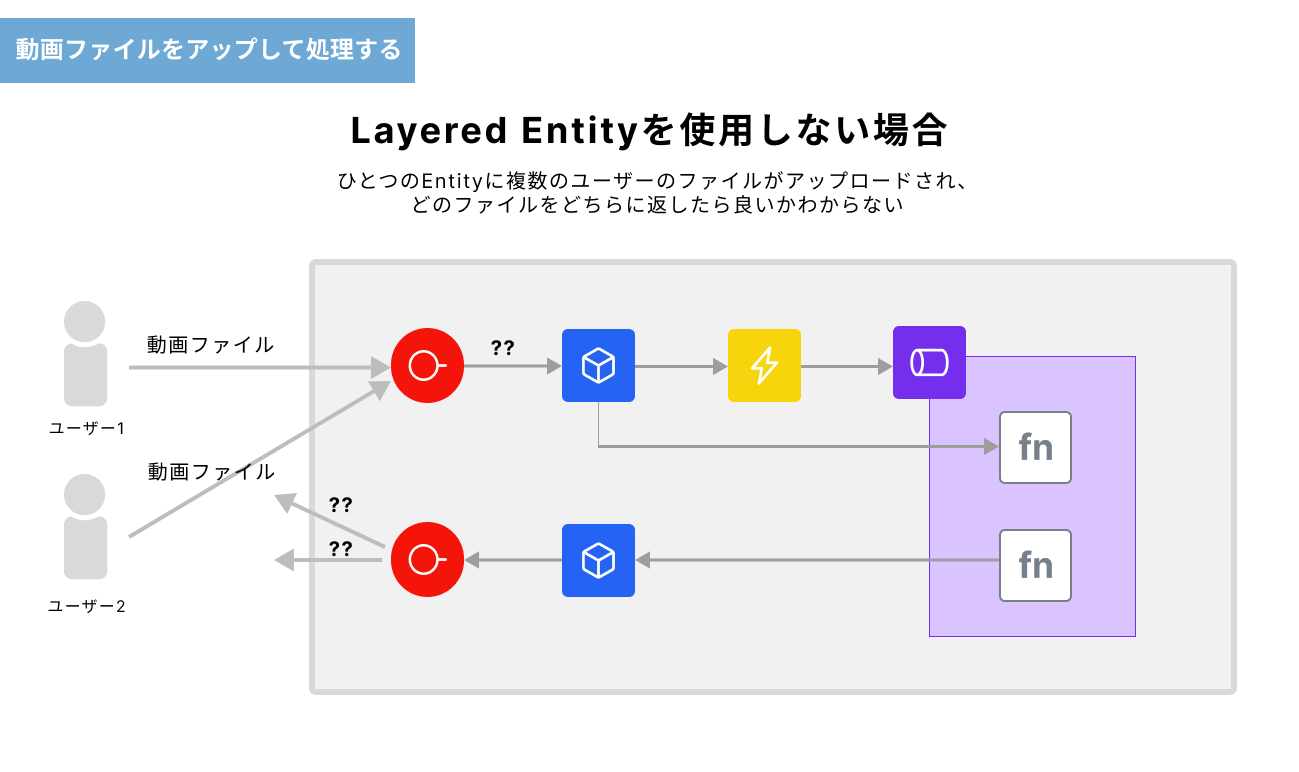
- Entities are global variables by default, making it difficult to handle user-specific inputs and outputs when the number of users is uncertain.
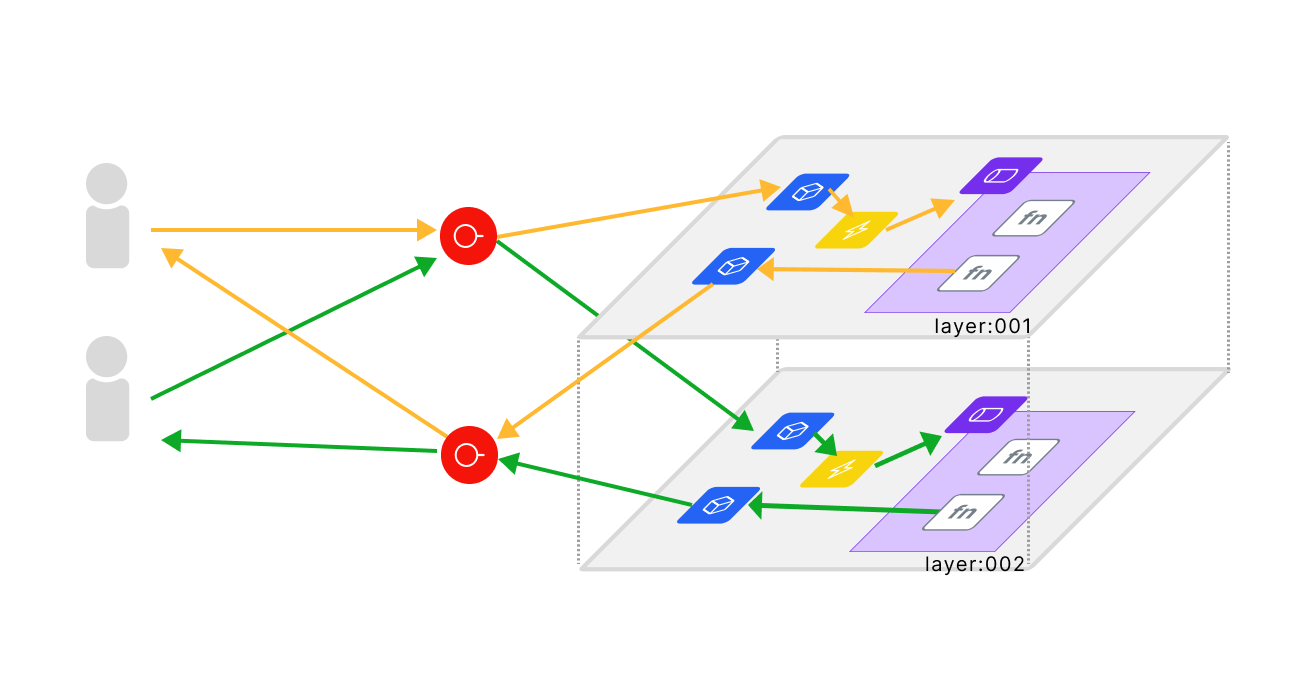
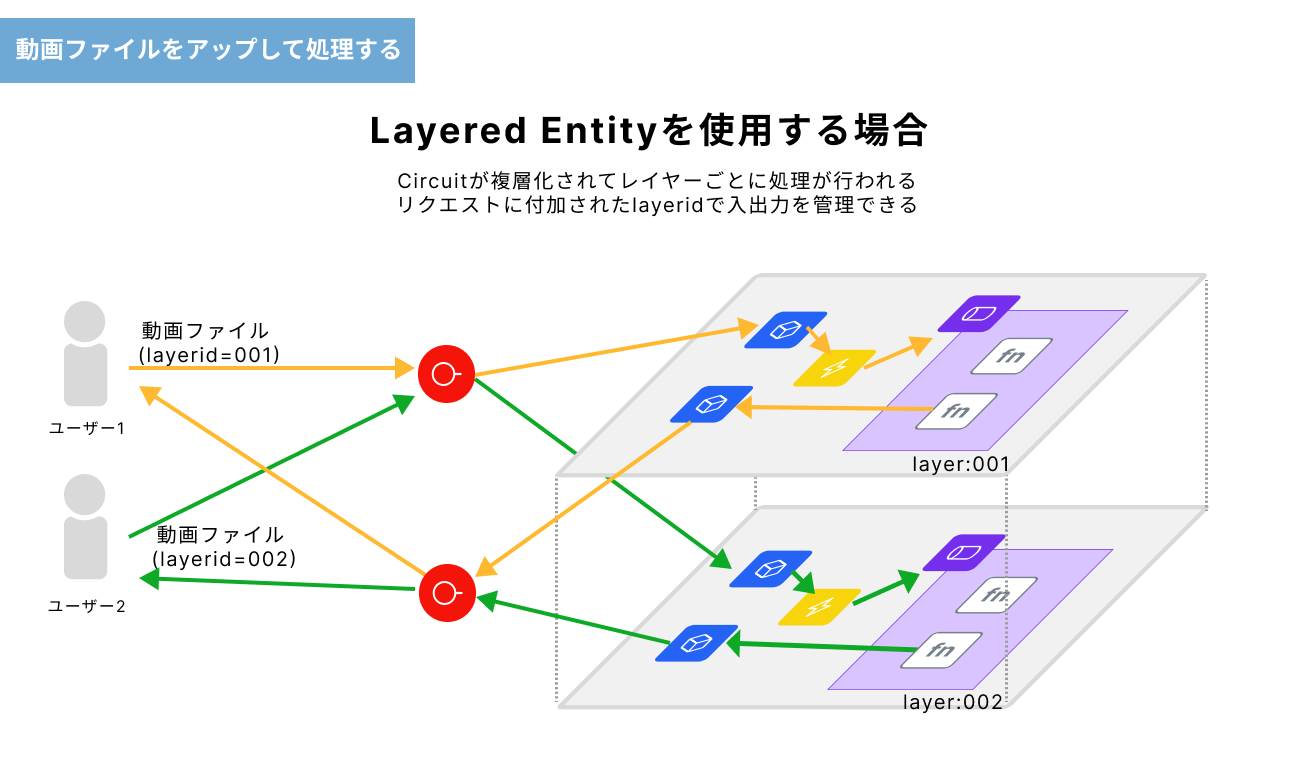
- By utilizing "Layered Entity," it is possible to accept parameterized requests and perform different processing and input/output for each user.
- For details on the functionality, please refer to Using Layers.
Preparation
(1) Download Files
- sample.zip
- layered_blank.json: The JSON file for the working canvas used in the tutorial. Import this into the canvas.
- layered_completed.json: The completed version of the canvas. Please refer to this at the end.
- sample1.mov: The first sample video file.
- sample2.mov: The second sample video file.
(2) Access StudioApp
Access the URL below. Please replace <env-name> with your own.
https://app.<env-name>.studio.exabase.ai/
 # If you are unsure of <env-name>, please contact your internal representative.
Tutorial
1. Import Files
- Create a new project by clicking the
+ New Projectbutton in StudioApp (you can name the project as you like). - Import the downloaded JSON file into the canvas.
2. Implement Processing on the Canvas
Refer to the sticky notes on the canvas for specific implementation methods.
- In this tutorial, changes to Entity settings and front-end code will be made.
- (1) Change Entity e01, e02 to FileEntity(Layered)
- (2) Rewrite the HTML of SideApp (webserver)
- Use the images already uploaded on AWS ECR for the ML models required for processing. Specify the image URI from the Function node.
3. Deploy
-
Click the
Deploybutton at the upper right of the screen and enter the tenant ID to deploy.※ If you are unsure of the tenant ID, please contact your internal representative.
4. Set Up Upload Page
- Once deployment is successful, open two pages for video upload/download. URL structure for the pages:
https://studio.{env-name}.studio.exabase.ai/{tenant-id}/ws03/webserver/
*Modify the texts in {} according to your environment
- Set the URL and parameters for each page. Enter different arbitrary values for the parameters on the two pages.
Input Example
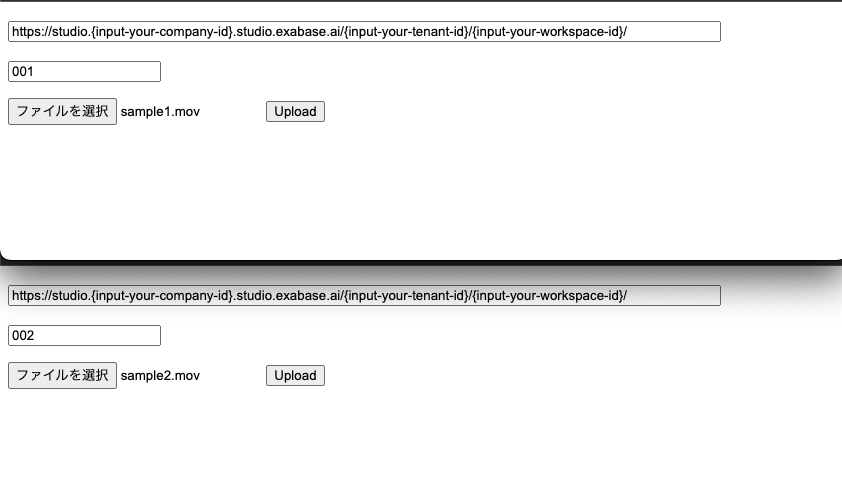
5. Execute Processing
- Upload sample01.mov and sample02.mov from the samples on each page to initiate processing.
Screen image when successful
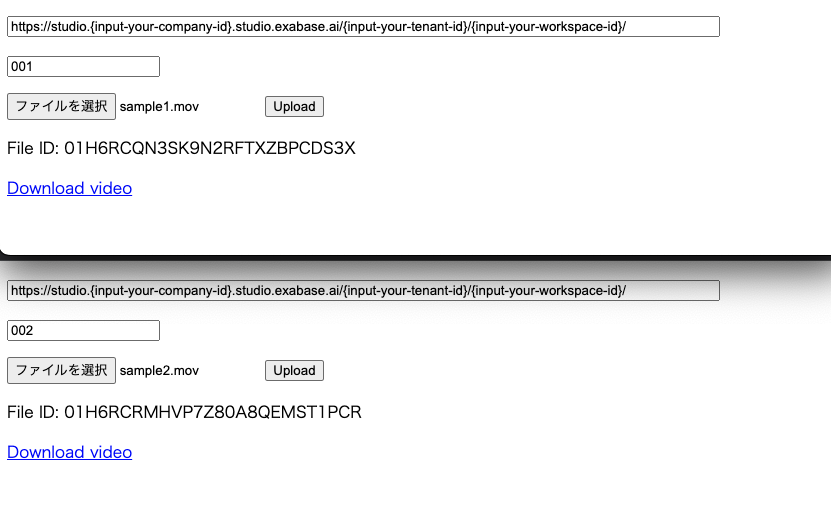
6. Check Execution Results
- After processing is complete, a value will appear in the FileId on the screen, and a download link will be created. Download the video file from the link and confirm that it has been processed correctly.
Tips
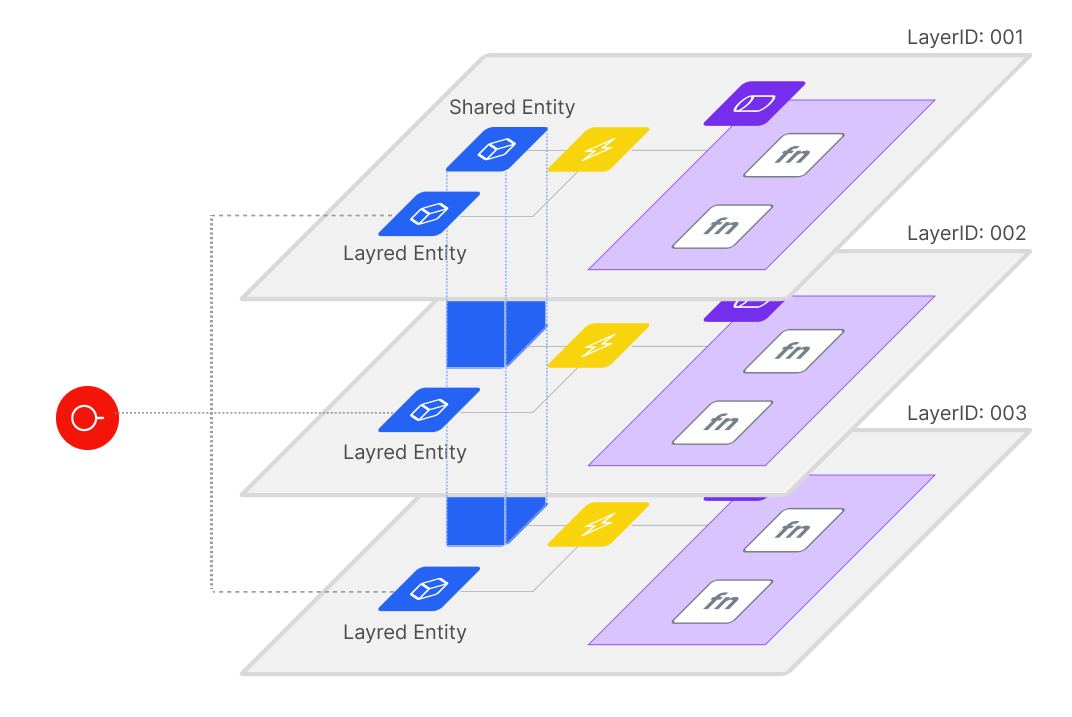
Combining Layered Entities and Default Entities
- It is also possible to combine layered entities with the default global variable entities (Shared Entity) as shown in the figure below.